Hips – The Hinge
90% of the people I see at the clinic cannot hip hinge. When I ask them to try and touch their toes, this is what I get:
 |
| Successful, right? Well… |
This is what I hope to get (sans cat photo bomb, of course):
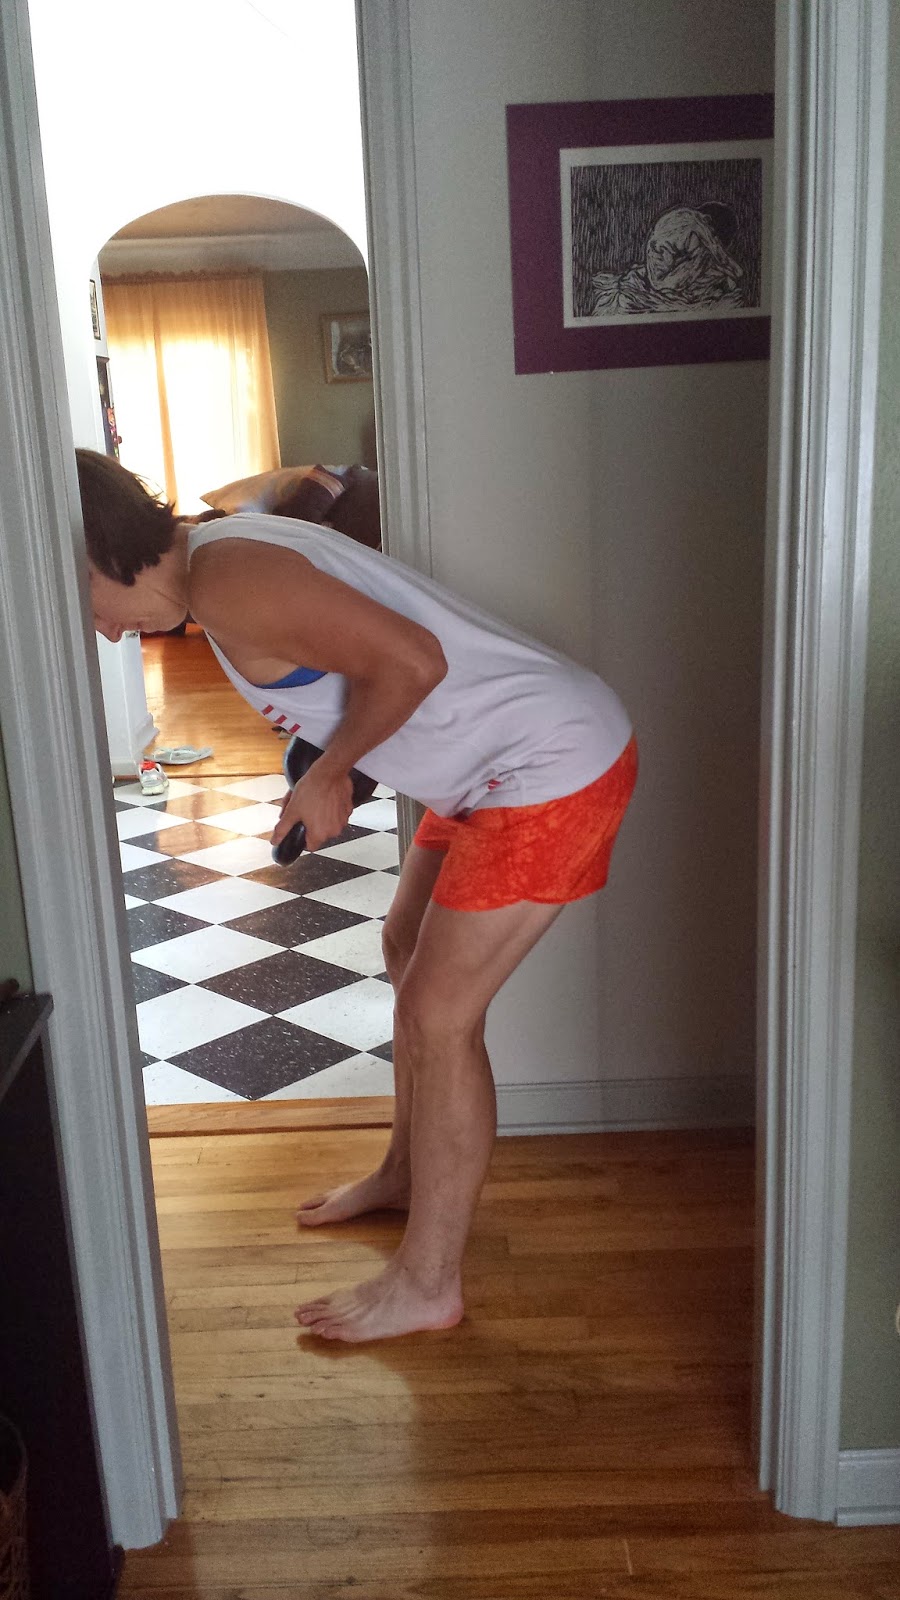
Notice how the butt moves back past the doorway and that back stays flat? That’s a hip hinge. If your lower back hurts and you can posteriorly tilt your pelvis (check the pelvis post) it’s likely because your hips DON’T hinge. The lumbar or lower spine is meant to be a STABLE joint, so when it is forced to move the torso into flexion and extension, pain becomes inevitable.
To practice and train this movement, we first start unloaded.
Have your feet shoulders width apart and a foot’s distance away from the wall.

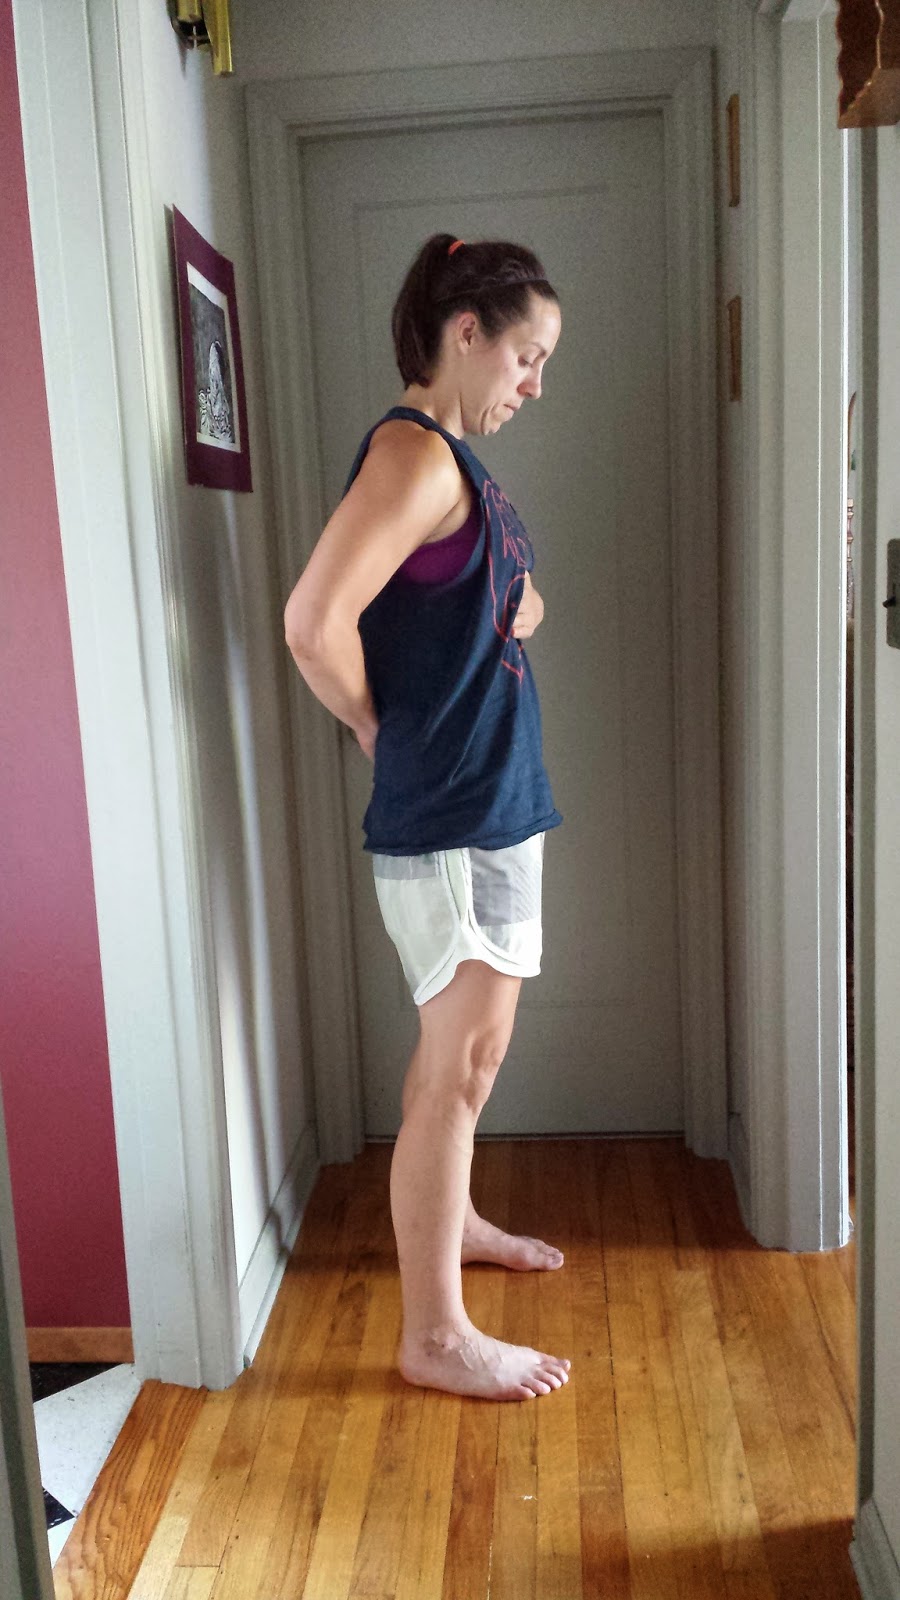
Tucking the chin and placing one hand on the bottom of the ribs and one on the small of your back (try your best to keep these two parts steady), reach your butt back to the wall.
If this distance seems to difficult, move your feet closer to the wall to start.
Widening your feet apart can also assist in this, if need be.
We next reinforce the pattern with load.
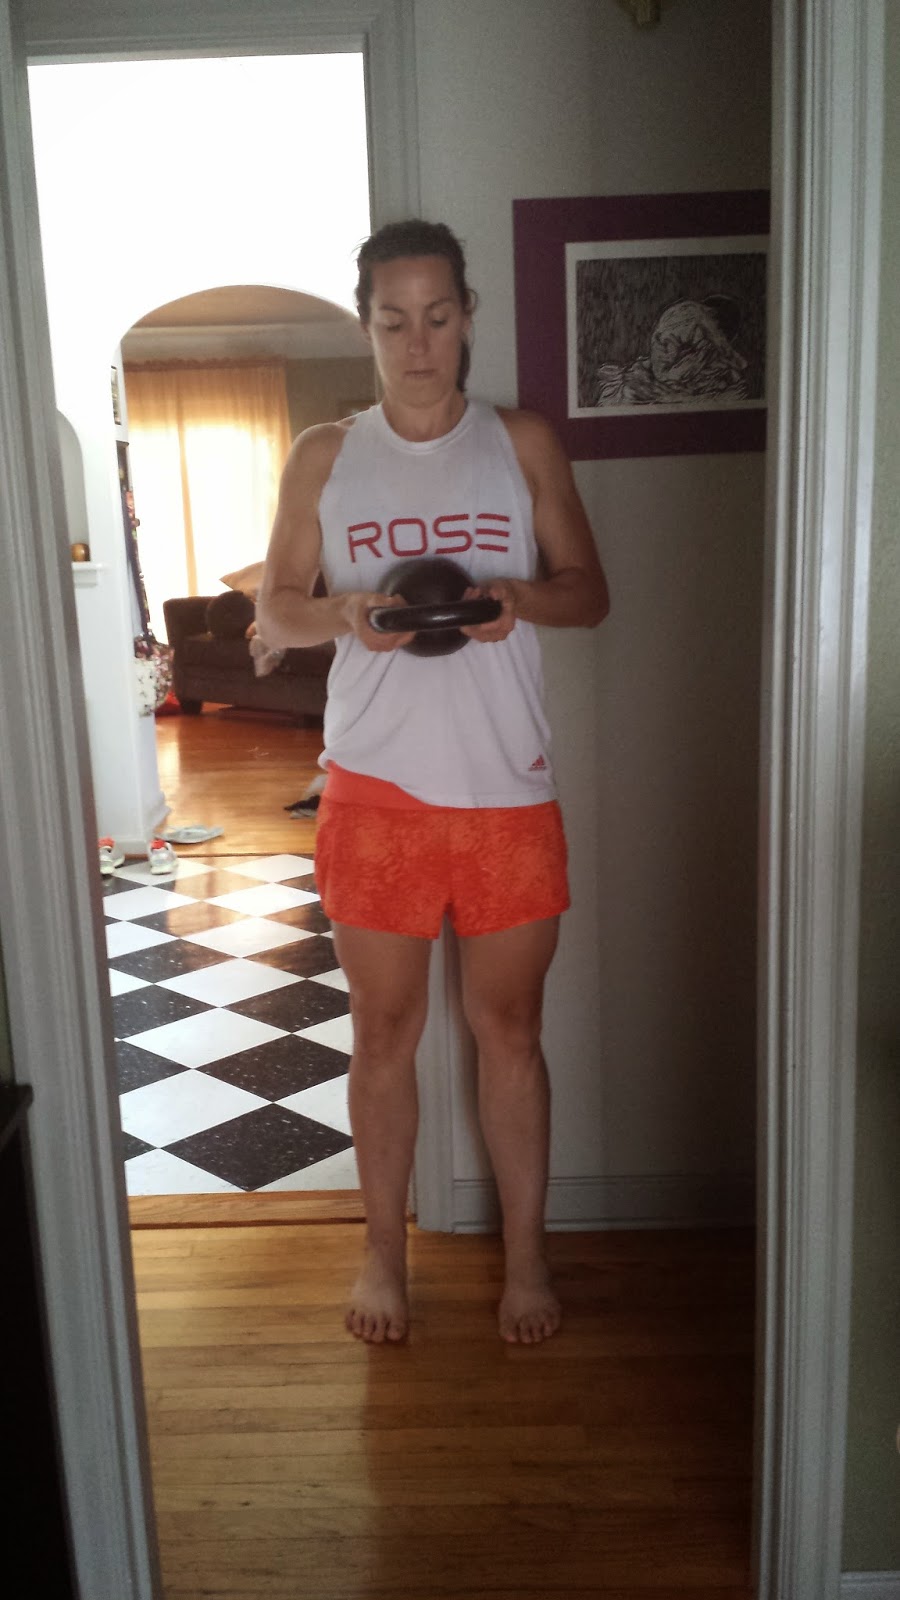
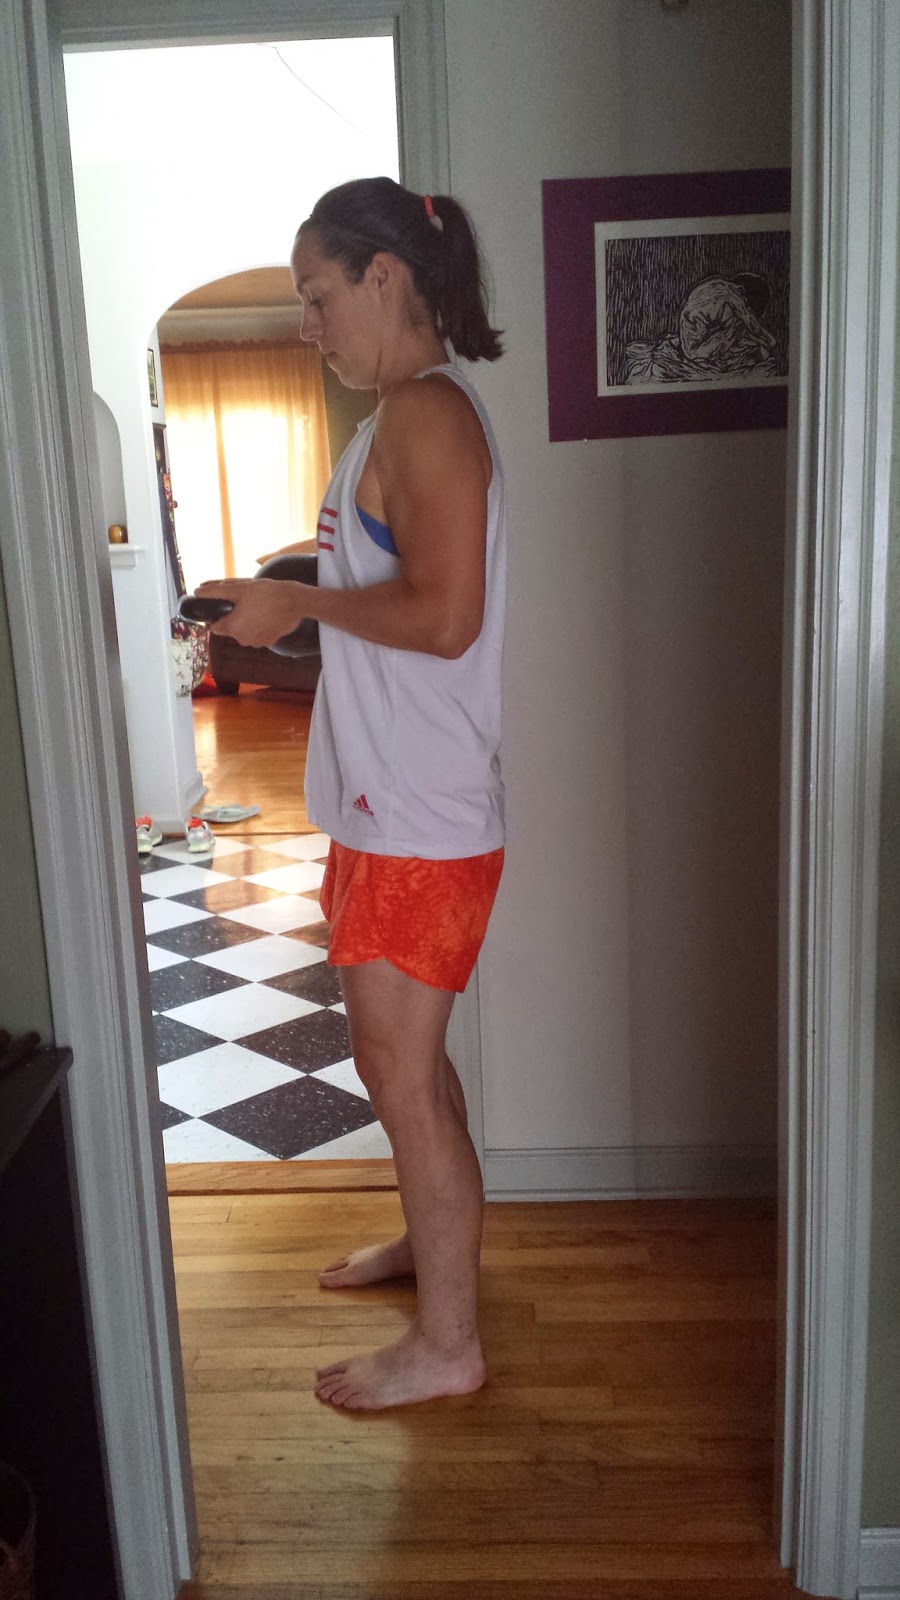
I’ve found it best to start with anteriorly loaded Goatbag hinges.

Same foot position set up and movement as the basic hinge above, but now you ‘stab’ yourself with a kettlebell against your upper abdomen.
If you don’t have a kettlebell, you can use a dumbbell. Just press it into you with both hands on the furthest bulb, not the handle.
You can then choose to posteriorly load the movement, withe the kettlebell on your upper back…
…or add an entirely different resistance vector with pull-throughs:
Once you can do these and NOT feel it in your back (you should really be feeling it in your hamstrings and butt), you can start deadlifting.
Notice the pattern is the same. The butt should move back and forth, not up and down.
- Learning to hip hinge can help alleviate back pain
- Hip hinging is defined by the butt moving forward and back.
- Torso should remain rigid and chin should be tucked
- Practice patterning without load first


