


Scapula (Shoulder Blade) – Gliding
The “shoulder” is actually composed of three bones and their joints, the scapula or shoulder blade, the humerus (upper arm), and the clavicle (collar bone).
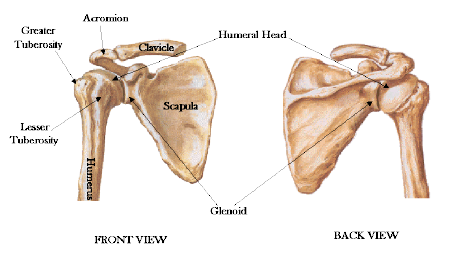
The scapula is a STABLE joint.
The humerus (glenohumeral joint) is MOBILE.
The clavicle (sternoclavical and acromioclavical joints, as it connects in two places) is STABLE.
They follow the joint-by-joint approach.
As the vast majority of shoulder problems stem from the scapula, this is where we’ll start.
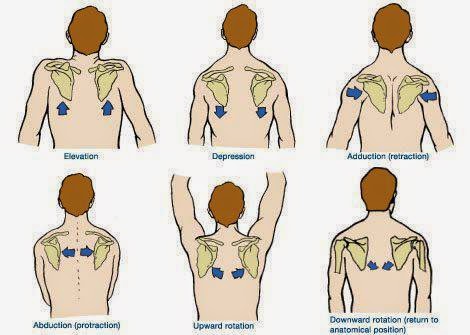
If the thoracic spine is doing it’s job and providing most of the motion in the upper torso, the scapula should stay flat against the rib cage. It SHOULD NOT stick out or wing.


The scapula does indeed move according to back and arm movements, but it should glide into positioning:
So how do we practice this shoulder blade glide?
First, make sure you have adequate thoracic mobility.
Second, perform a Y-Raise face down, USING LATS to drive arm movement. This is the muscle that surrounds and sits right below your armpit. Use this guy on the way up as well as the way down. Push from here AND pull from here.
Performing the Y-Raise
Get the scapula to sit while raising arm, 45 degrees, THUMB UP, as if your body was to make a ‘Y’. Though we typically start progressions on your back, it’s hard to feel what the shoulder blades doing if you’re laying on them.
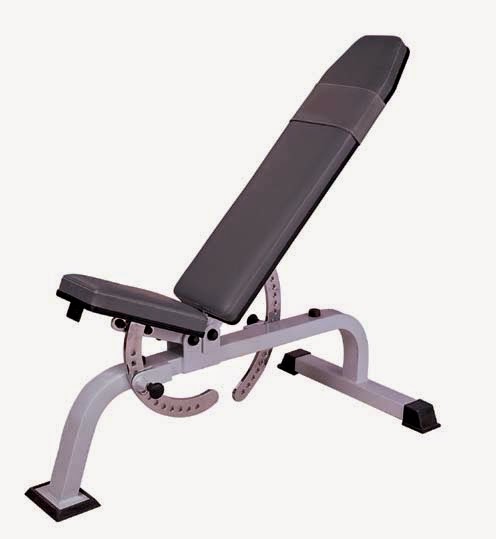
You can do this hinged back over a rack bar (bar about nipple line) if you’re not one of the lucky ones with access to a cushioned table.
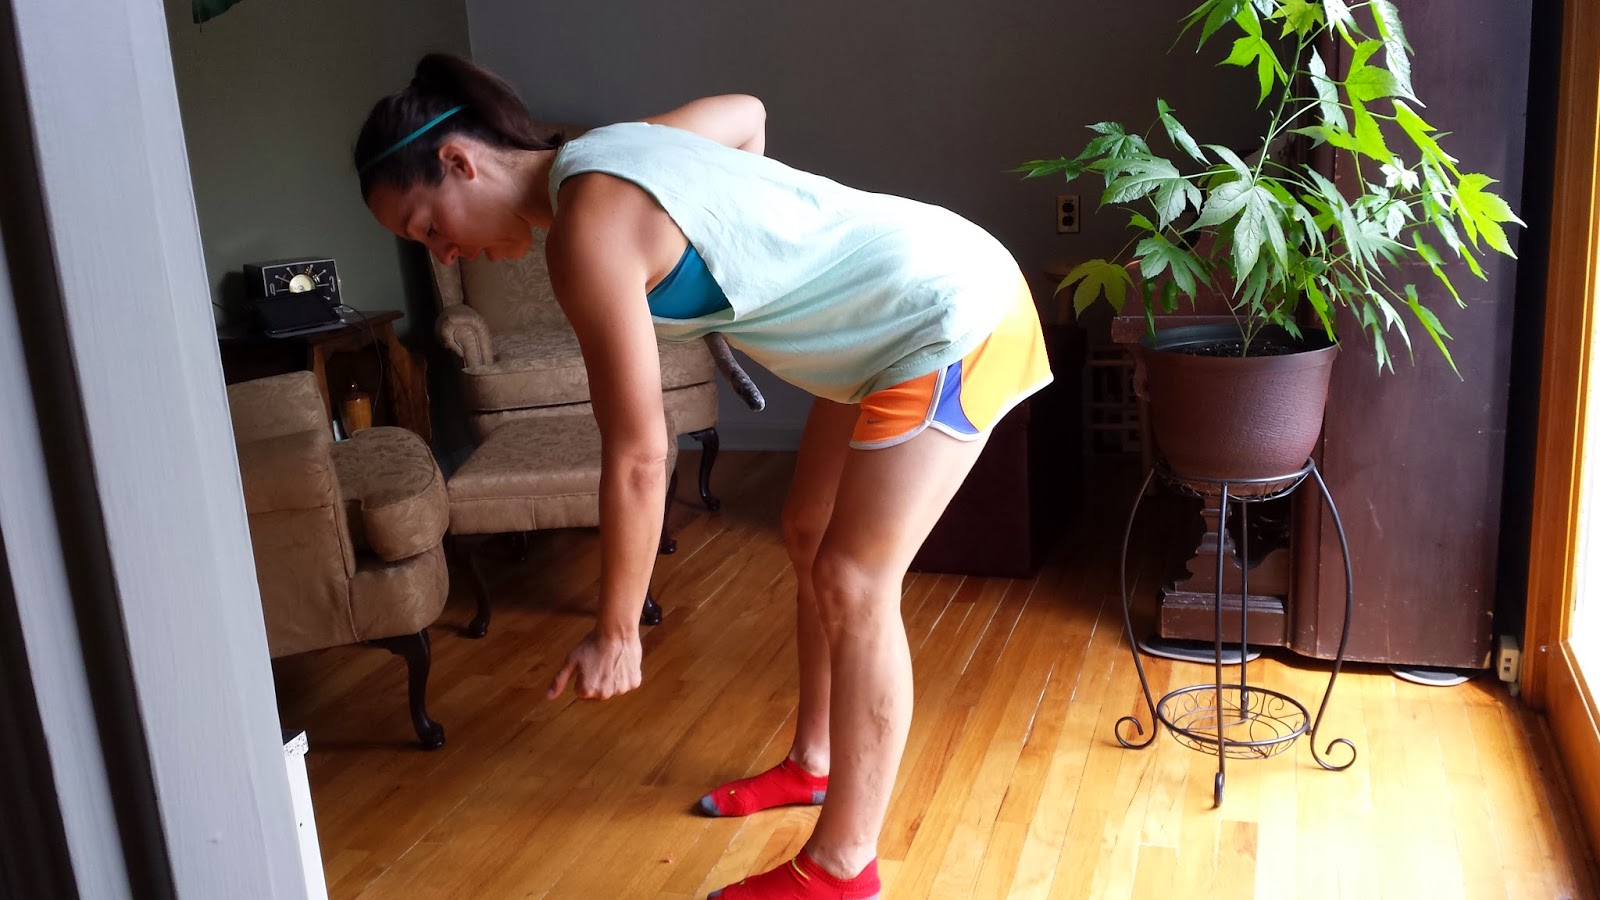

Only go as high as you can keep the scapula flush against the ribs, maxing out height when the bicep hits the ear.
Third, attempt to get the same movement face down on a incline.We are building our way to standing, baby-stepping against the pull of gravity.
You can use both arms at the same time when performing Ys, but again, we typically want to zero in on one that’s giving us more trouble. Awareness is the key to success, and the less things we have to monitor, the better we can focus. Also, you can use the “good” shoulder rep to teach you what ‘right’ feels like.
Fourth, attempt wall slides standing. Keep space between body and wall constant throughout. Be careful not to push yourself away when sliding up or down. This rule holds true for the head. No forehead tips or chin protrusions.
FOREARM SLIDES AT 135 DEGREES:
WALL SLIDES W/ OVERHEAD SHRUG:
FOREARM WALLSLIDES WITH BAND:
Torquing against band gets the serratus and lats to fire, giving you feedback that they are on and working. A big part of their job their job in setting the scapula so the arms can move around it.
MAKE SURE YOUR ELBOWS ARE IN LINE WITH YOUR WRISTS
Don’t let the elbows flare out and the wrists get pulled in by the band.
We do not want the letter ‘A’ to form with your forearms.
TO REVIEW:
- The shoulder girdle is complicated, consisting of two stable joints, and one mobile
- Use the lats to drive overhead arm movements
- The scapula should glide along the ribcage, not pop or wing up. No t-shirt pokes.
- Thumbs up hand positioning is the most shoulder friendly for attempting to get arms overhead
- Y’s are the ultimate shoulder trainers, and they need to be progressed from horizontal to vertical