Prone Positioning – Pt 2 (Crawls)
At then end of Prone Positioning Part 1, we kept the torso still while we moved our arms. Crawls are initiated when we move our feet.
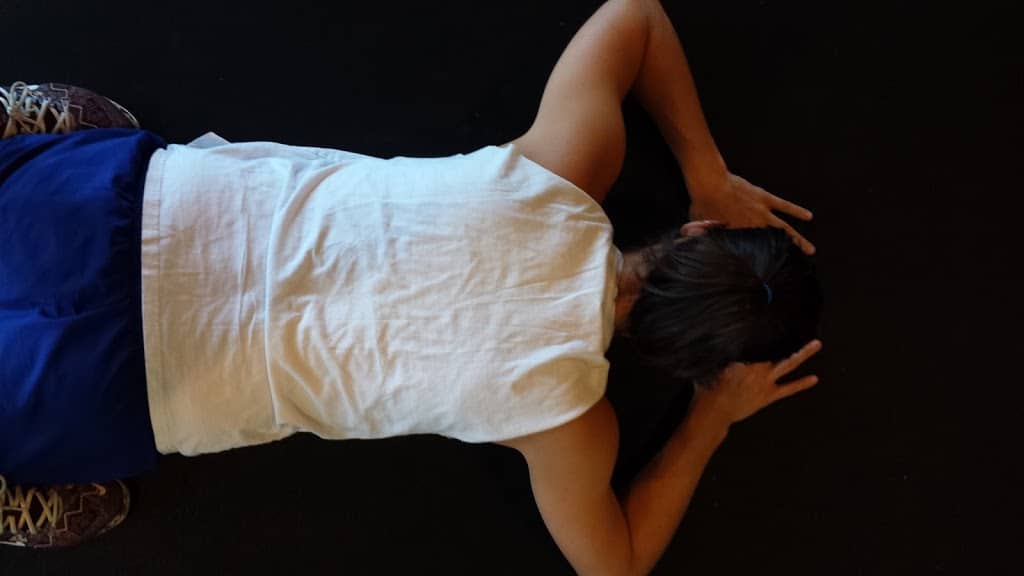
To begin, we start with the set up. It’s similar to the sphinx in that the thumbs are in line with the nose, but the hands remain close together while the elbows are set wide.
1. Knee Slides and Lifts
Turn the head and look in the direction of the moving knee.
You should feel these in your obliques.
Notice how the hips turn in each one of these movements. The moving side will roll upwards. Press down on the opposite forearm to raise the leg. The knee should end up near belly button height.
2. Static Elbow to Knee Crawl
Start off center with opposite elbow and knee raised.
(Same as knee slide with a reach of the opposite elbow)
Pivot off the up knee and elbow.
To reverse, use the same, now lower elbow and knee to return to starting position.
The limbs that move stay moving and the limbs that support stay supportive throughout both directions of the movement.
The hips move in a diagonal motion, which is made very apparent from the aerial view.
Why are we off the hands and feet?
To keep the core, hips, and shoulders honest.
Shortened levers have less cheats for stability.
Below Dewey Nielsen takes the static crawl locomotive, and brings in a bear crawl.
Value the control.
TO REVIEW:
- When you lift something up you must also press something else down
- Look in the direction of the moving knee
- The hips turn when on the knees and elbows are on the ground
- Static crawls start with one elbow and the opposite knee up
- The same elbow and knee that push you up on the static crawl reverse you to start position
- Ab work is stability work


